BykonzYard
Your ticketing system
How to set up an event, sell tickets, design them, and scan people in on the door.
Signing in
- Web address
- bykonz-ticketing-live.fuzeheritage.workers.dev
- bykonz-admin@siso.agency
- Password
- BykonzYard#Ops2026
This is the shared operator login. Tell us the names and emails you each want and we'll give you your own.
1The dashboard
Where you land after signing in. Sales, orders and your upcoming events at a glance.
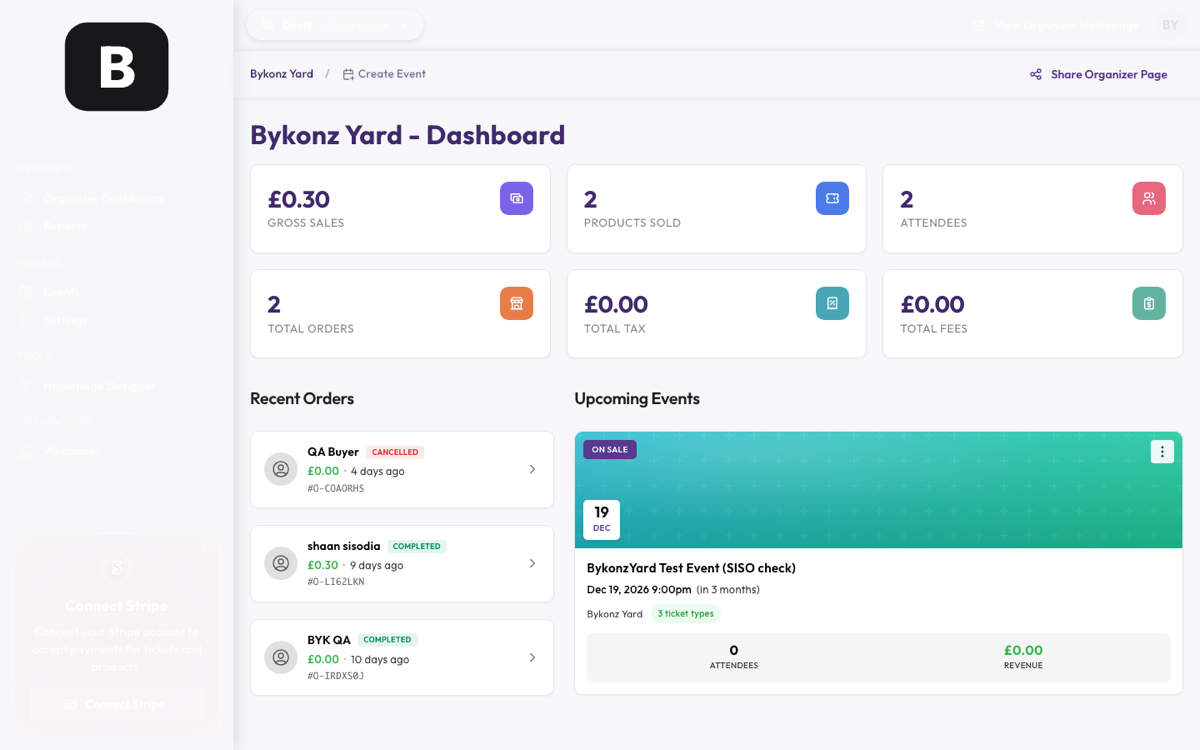
2Making an event
Top of the dashboard → Create Event.
- Give it a name, date, time and venue.
- It starts as a Draft — only you can see it.
- Add your ticket types (next section).
- When you're happy, switch it from Draft to Live using the toggle at the top.
3Ticket types and prices
Tickets & Products in the left rail.
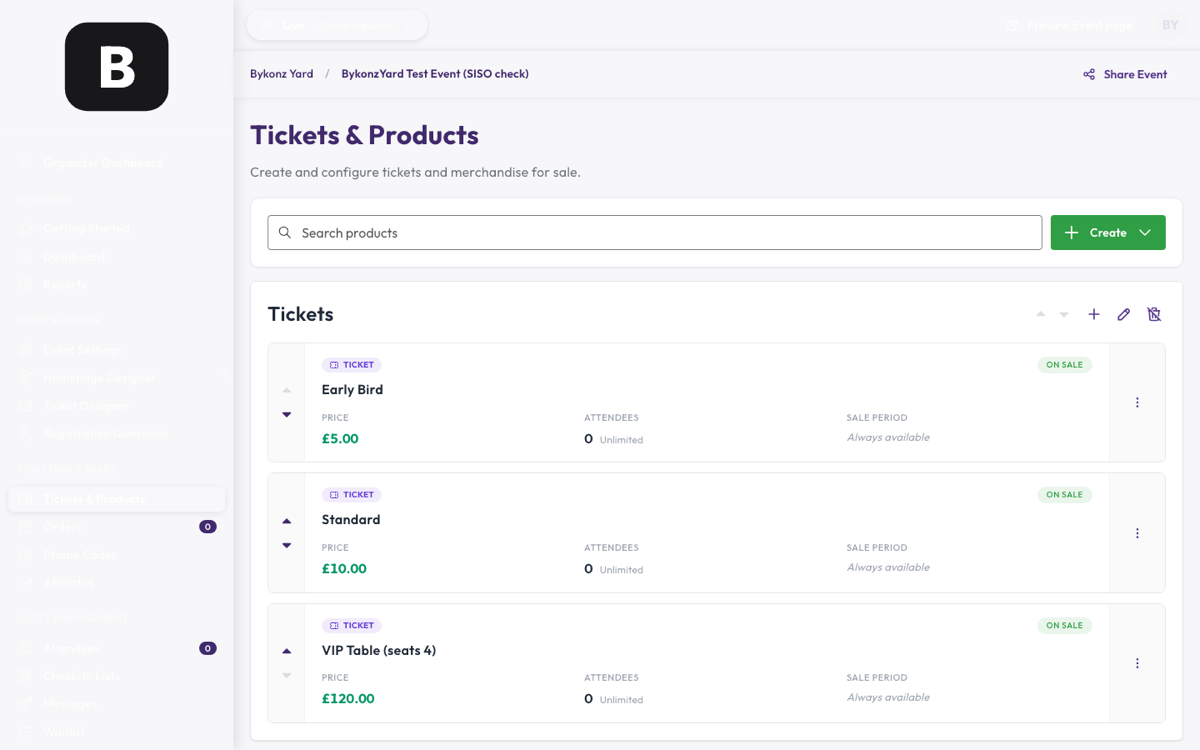
Hit Create for each type. For each one you set:
- Name — "Early Bird", "Standard", "VIP Table (seats 4)".
- Price — in pounds.
- How many — the cap. Once they sell out, it closes itself.
Tables and VIP work exactly the same way — they're just a ticket type with a higher price. Name it so people know what they're getting.
4Designing the ticket
Ticket Designer in the left rail.
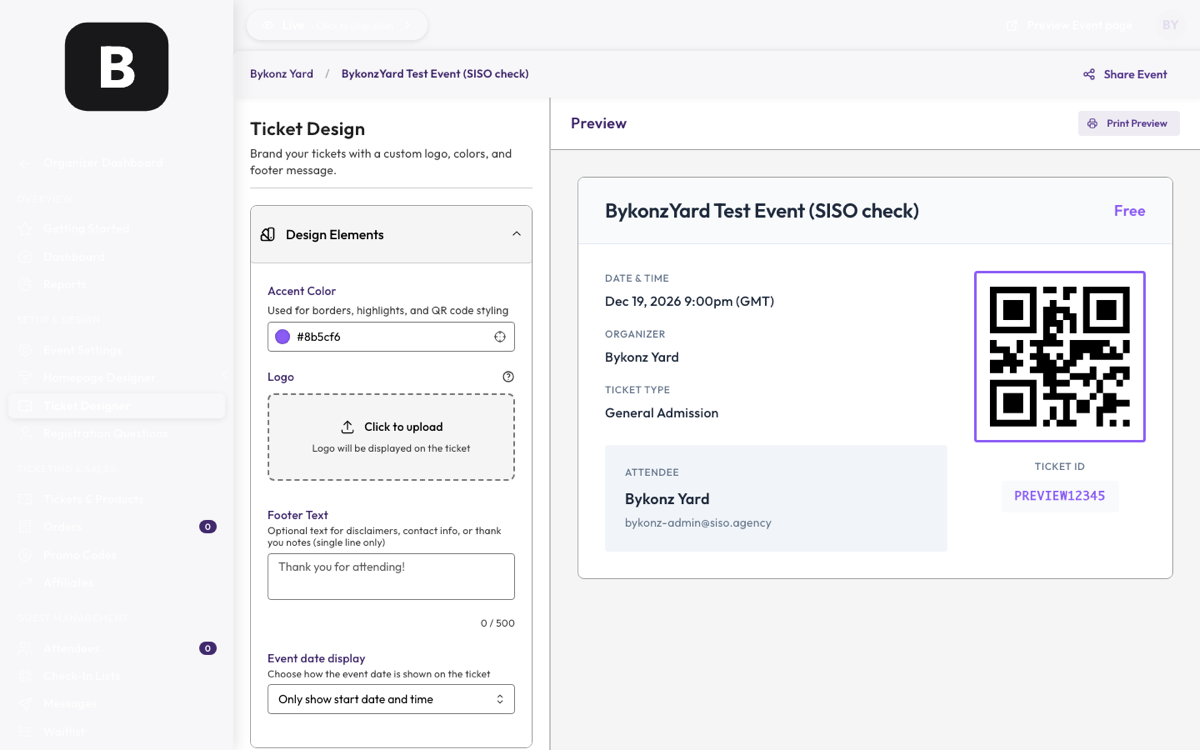
You control:
- Accent colour — borders, highlights and the QR styling. Currently set to BykonzYard purple.
- Logo — click to upload. Square works best, at least 200×200.
- Footer text — a thank-you line, or door info.
- Date display — start time only, a date range, or hidden.
Every ticket carries its own QR code and a unique ticket ID. Two people can't use the same ticket — each one scans once. Print Preview (top right) shows exactly what a printed or saved ticket looks like.
5Orders and guests
Orders and Attendees in the left rail.
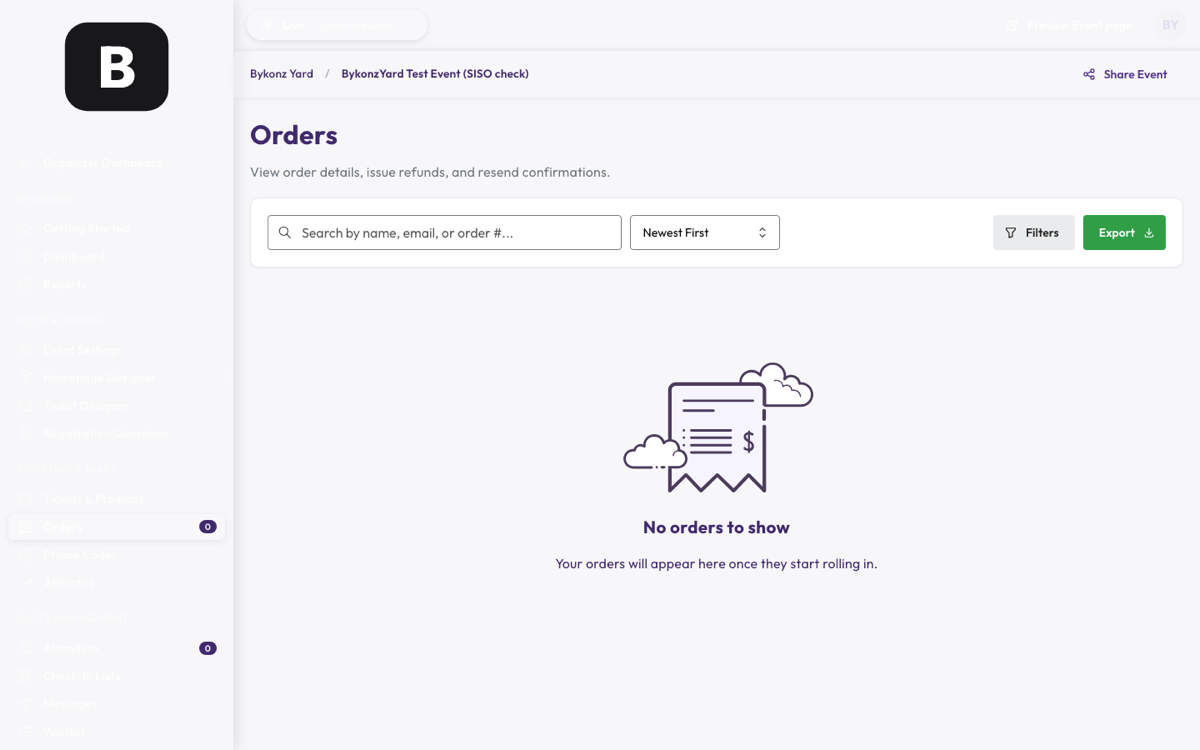
From here you can search for someone, resend their ticket, or cancel and refund an order.
6Discount codes
Promo Codes in the left rail.
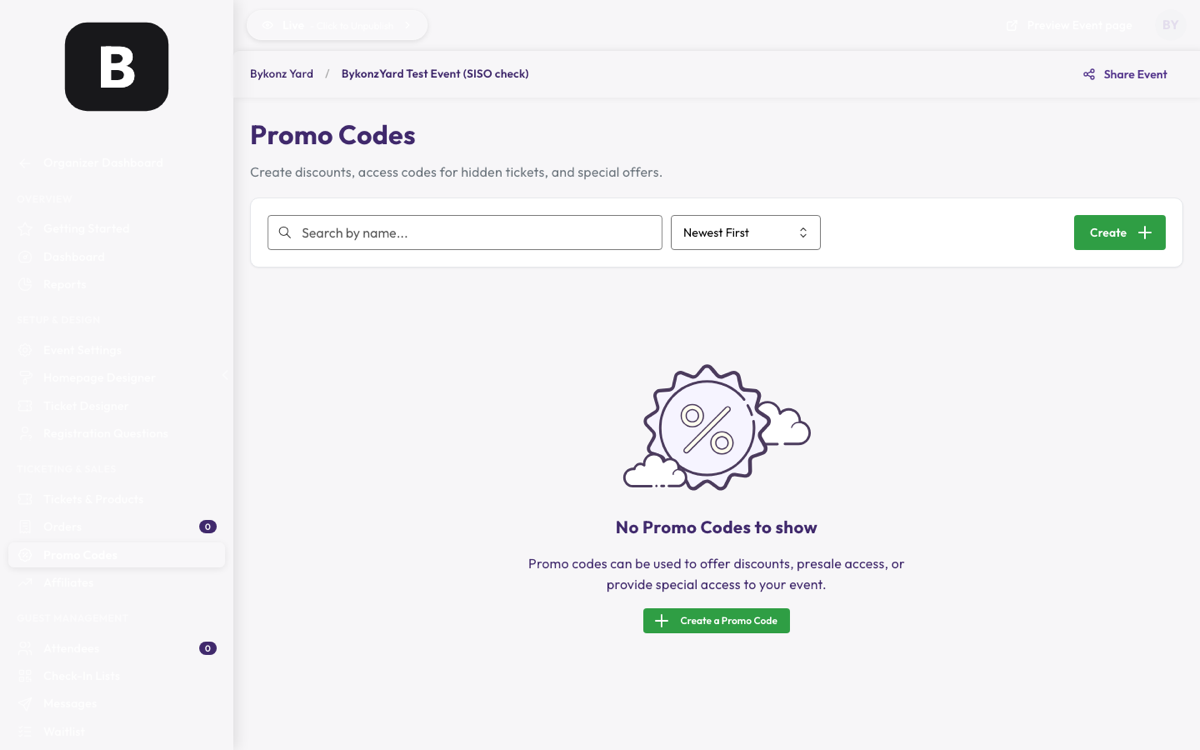
Each code can be a percentage or a fixed amount off, limited to a number of uses, and given an expiry date and time. Good for a "bring a friend" offer or a rep code.
7On the door
Check-In Lists in the left rail.
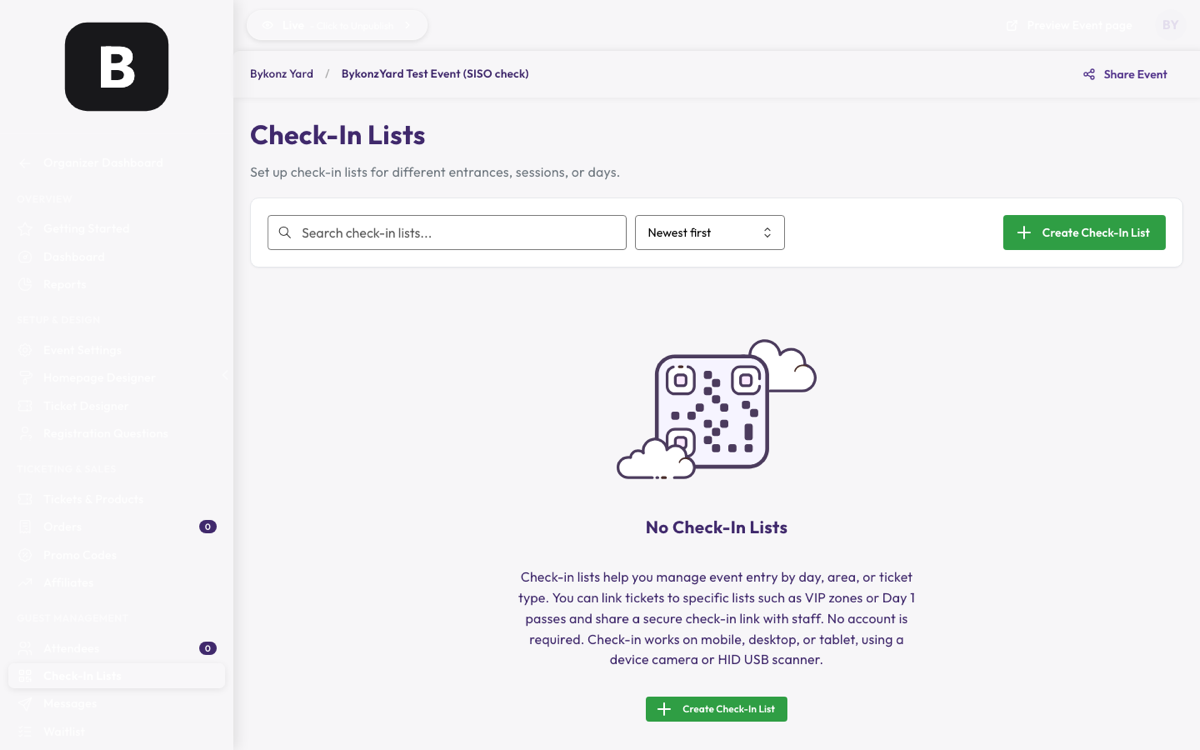
- Create a check-in list and choose which ticket types it covers (e.g. VIP only, or everything).
- Share the secure link with your door staff.
- They open it on a phone and scan each QR code with the camera.
Your staff don't need an account or a password — the link is enough. A ticket that's already been scanned will say so.
8Before you sell for real
Connect Stripe
This is the one thing still outstanding, and only you can do it — it needs your own Stripe login. Go to Settings → Payment and click Connect Stripe. Until that's done people can reserve tickets but can't pay, so tickets aren't issued and confirmation emails don't go out. Once it's connected, the whole flow runs by itself.